

"A picture is worth thousand words". This quote clearly showing the use of images in blogs. Bloggers can share their ideas to readers easily than words. But using pictures on blogs or websites without optimisation may affect website performans. If your blog pages take too much time to load readers choose other substitute blogs and they never comeback. So in this post we sharing the instructions to optimise images for blogging using Photoshop.
Why pictures needs to be optimized?
Most of the popular search engine in the world index the webpages based on the page speed. Web pages with more loading time may not get indexed or get low rank in search result. So increasing page load speed will absolutely increase your search rank and page will be indexed quickly. Also Java scripts and CSS also has the main roll in web load speed, So try use less Java widgets on blogger.In a webpage images occupy more memory than words and codes, So optimising the images is er necessary. Resizing images using CSS codes does not decrease the KB/MB of the images, CSS codes only resize the width and height of the image but still original size image loading their.
How To Optimize Images Using PhotoShop For Blogging?
Open Image on Photoshop that you need to optimize
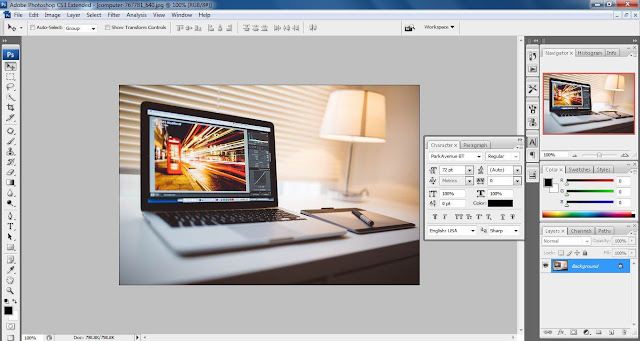
Then go to File >> Save for Web & Devices option or use following shortcut key Alt+Shift+Ctrl+S. A window will be open like this.

Optimize your image according to your needs. There will be many options like quality adjustment, Size adjustment, Formats, etc. At last click on the Save Button
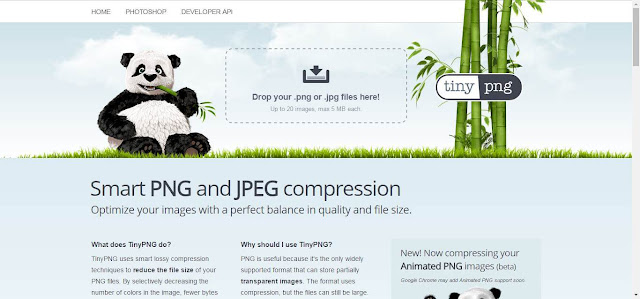
Here we also sharing an easy method to optimize your photo for blogging, That is TinyPNG.com. TinyPNG is an online service which offers picture optimization easily without any technical knowledge. Just upload your photos needs to be optimized and download the optimized photo instantly.

Then go to File >> Save for Web & Devices option or use following shortcut key Alt+Shift+Ctrl+S. A window will be open like this.

Optimize your image according to your needs. There will be many options like quality adjustment, Size adjustment, Formats, etc. At last click on the Save Button
Alternative and Easy Method to Decrease Image File Size
Here we also sharing an easy method to optimize your photo for blogging, That is TinyPNG.com. TinyPNG is an online service which offers picture optimization easily without any technical knowledge. Just upload your photos needs to be optimized and download the optimized photo instantly.
Comments
Post a Comment